A cluttered hard drive does more than limit how many files you can store. It can slow down performance, increase load times, and even cause system errors. The good news? You usually do not need new hardware to fix it. A little cleanup goes a long way.
Let’s break it down step by step.
1. Start With Built-In Cleanup Tools
Windows already gives you powerful tools to remove junk files safely.
Use Disk Cleanup
Disk Cleanup scans your system for temporary files, cached data, old update files, and other clutter you probably do not need.
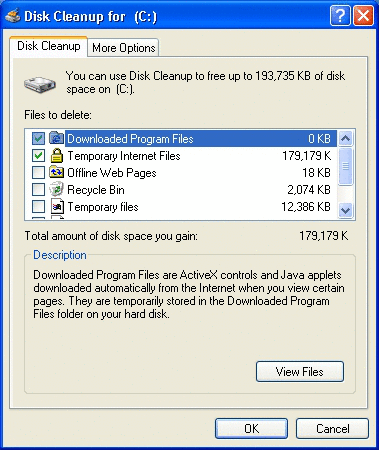

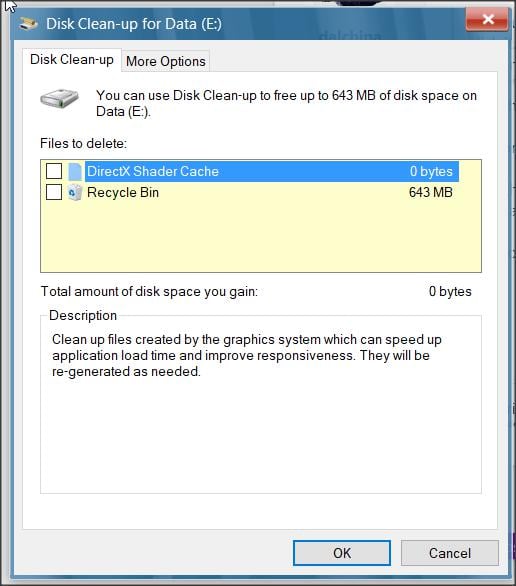
How to use it:
-
Press Windows + S and search for Disk Cleanup
-
Select your main drive (usually C:)
-
Check items like Temporary files, Recycle Bin, and Thumbnails
-
Click Clean up system files for deeper results
-
Hit OK
This alone can free several gigabytes.
Turn On Storage Sense (Automatic Cleanup)
Storage Sense runs in the background and automatically deletes temporary files and empties your Recycle Bin on a schedule.

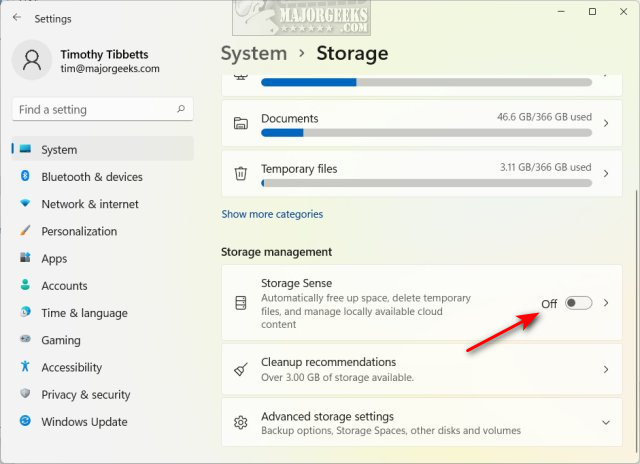
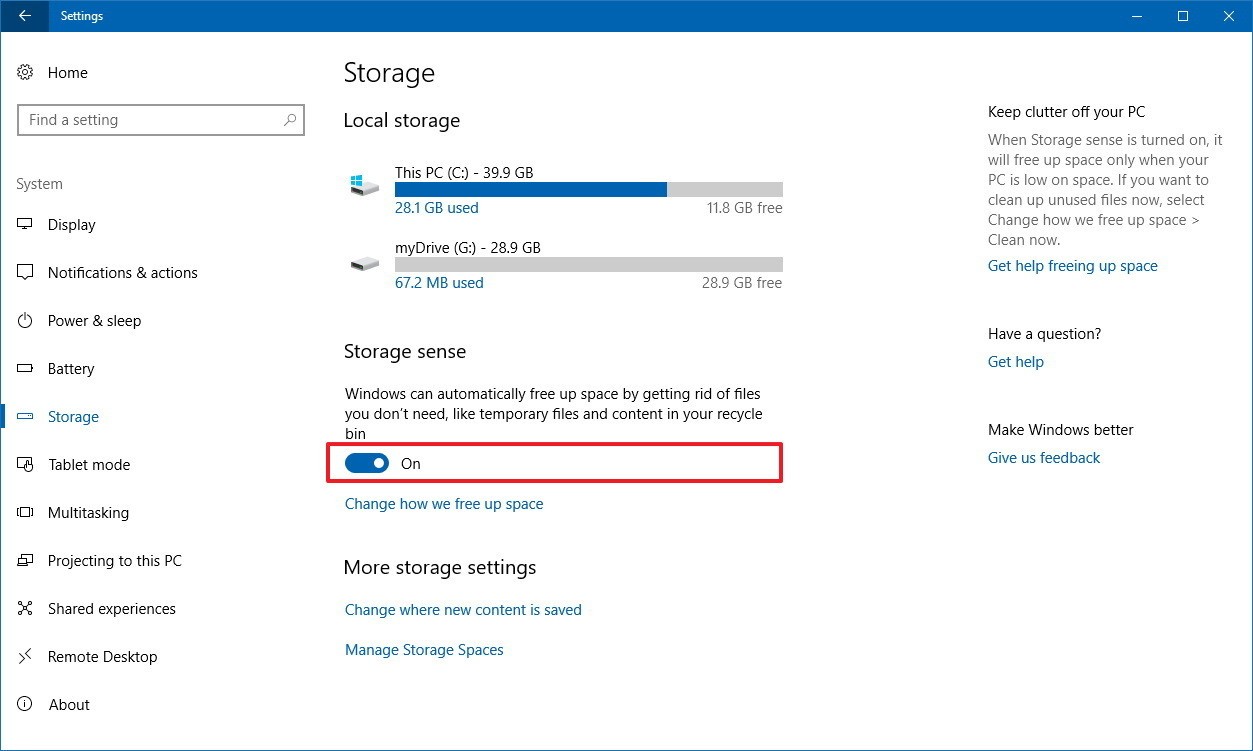
To enable it:
-
Open Settings
-
Go to System > Storage
-
Turn on Storage Sense
-
Customize how often it runs
Set it once and forget it. Your future self will thank you.
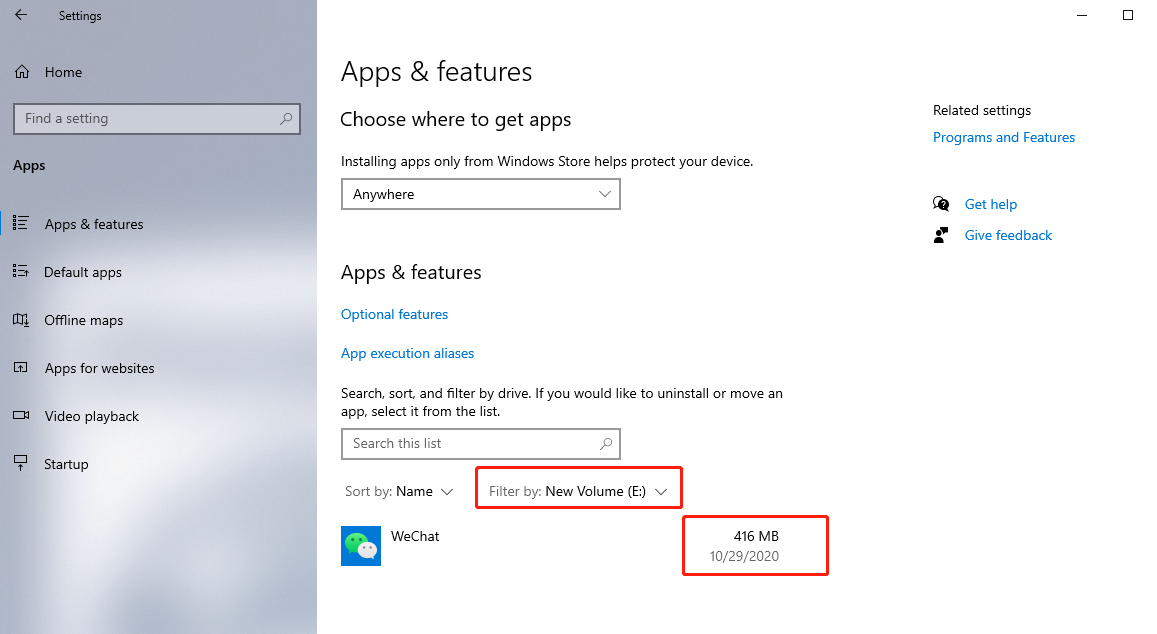
2. Uninstall Apps You No Longer Use
Old games, trial software, and forgotten apps add up fast.
Go to:
Settings > Apps > Installed apps
Sort by size and remove anything you have not touched in months.
Pro tip: If you are unsure about an app, search its name first. Some system tools look unfamiliar but are important.
3. Find What’s Actually Taking Up Space
Sometimes you just need to see the problem.
Open Settings > System > Storage and click your main drive. Windows will show a category breakdown like Apps, Documents, Pictures, and Temporary Files.
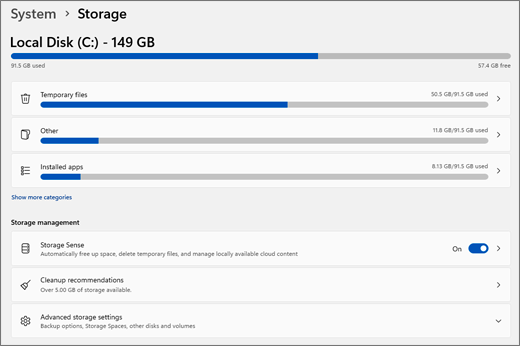
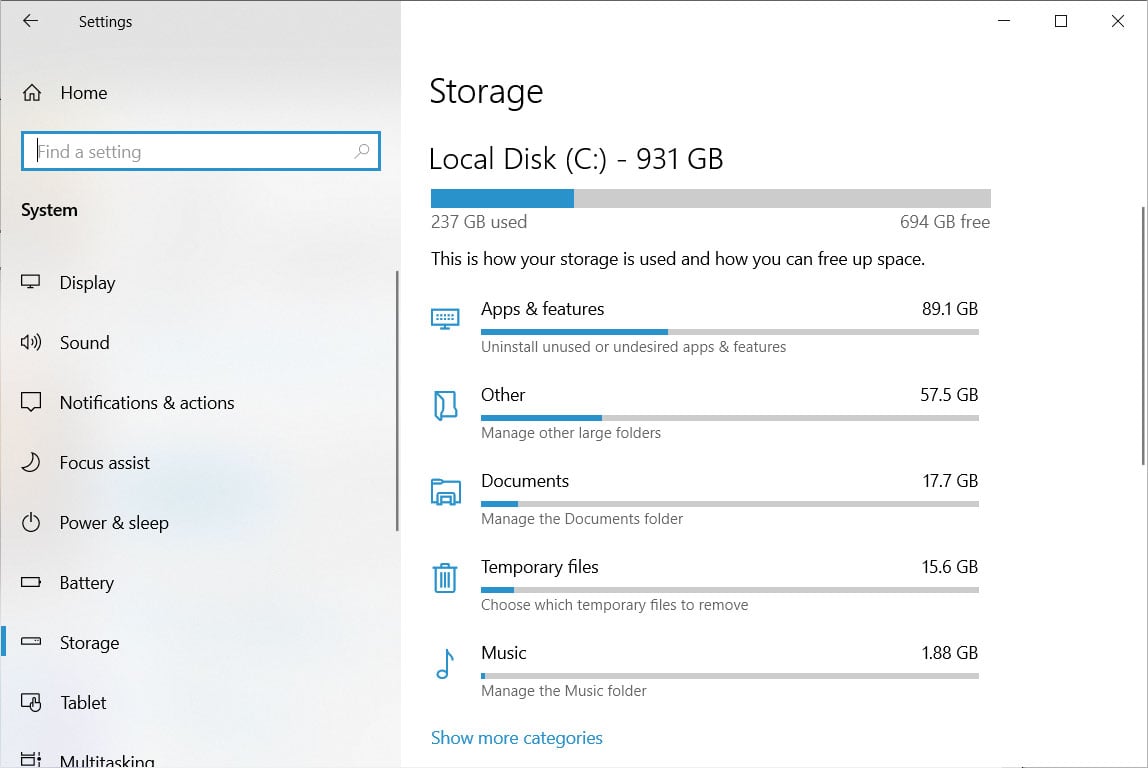
Click into each category to locate large files and folders. This makes it much easier to spot that forgotten 40 GB game install or massive video folder.
4. Move Large Files Off Your Main Drive
Photos, videos, and project files eat storage quickly.
Here are smart options:
-
Move files to an external hard drive
-
Upload rarely used files to cloud storage
-
Transfer media to a secondary internal drive (if you have one)
Once moved, delete the originals from your PC.
5. Empty the Recycle Bin (Yes, Really)
Deleted files still take up space until the Recycle Bin is cleared.
Right-click the Recycle Bin on your desktop and select Empty Recycle Bin.
It is simple, but people forget this one all the time.
6. Clean Up Your Downloads Folder
Your Downloads folder is usually a graveyard of installers, PDFs, and random images.
Sort by size, delete old installers, and archive anything you actually want to keep.
This step alone can recover surprising amounts of space.
7. Optional: Use a Third-Party Disk Analyzer
If you want deeper insight, tools like WinDirStat or TreeSize visually map your storage so you can instantly spot giant folders and hidden space hogs.
These are optional, but great for power users.
8. Long-Term Tips to Stay Organized
Freeing space once is good. Keeping it free is better.
Try these habits:
-
Enable Storage Sense permanently
-
Uninstall programs as soon as you stop using them
-
Store large media files externally or in the cloud
-
Review your Downloads folder monthly
-
Avoid keeping duplicate files
A few minutes of maintenance each month beats emergency cleanup later.
Running out of space is frustrating, but it is almost always fixable with a little housekeeping. Start with Disk Cleanup and Storage Sense, remove unused apps, hunt down large files, and build better storage habits going forward.