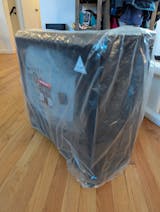
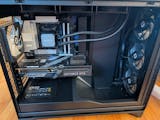
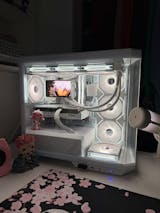
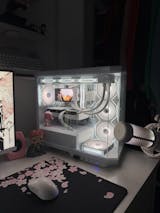
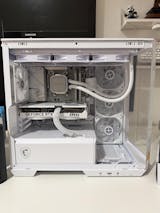
What is RAM reseating and why does it work? Reseating, removing and reinserting, RAM modules often resolves hardware issues because it restores reliable metal-to-metal contact, which can be compromised by oxidation, dust, or loose seating. Repeated insertion gently “scrubs” connectors clean, helping restore stable electrical connection.
Tech forum contributors often note:
“Reseating the RAM generally scratches through [corrosion] … and the computer can once again detect the modules.”
“Connectors … are subject to slow oxidation … that action can ‘scrub’ away … restore the connections.”
Step-by-Step: How to Reseat RAM Safely
1. Power Down & Unplug
-
Shut down the PC completely and disconnect the power cable and peripherals.
-
For added safety, you can also press the power button for ~30 seconds to discharge residual power.
2. Ground Yourself
-
Use an anti-static wrist strap or periodically touch the metal part of your PC case to avoid static discharge.
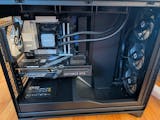
3. Open the Case
-
Remove the side panel, typically secured by screws or quick-release tabs.
4. Locate the RAM
-
RAM modules are installed in long slots near the CPU on the motherboard.
5. Remove the RAM
-
Gently push down the retaining clips on each end of the RAM slot until the module pops out.
-
Carefully pull the module straight out, holding the edges and avoiding contact with the gold connectors.
6. Optional: Clean (if necessary)
-
Inspect for dust or debris. You can use compressed air to gently clean the slot.
-
In coastal or humid conditions, lightly using a pencil eraser or contact cleaner can help scrub corrosion.
7. Reseat the RAM
-
Align the module so its notch matches the slot’s keying.
-
Insert at a 90-degree angle and press firmly until both clips snap back into place—listen for a click.
8. Close Up & Reconnect
-
Ensure the system properly detects all installed RAM:
-
Check in BIOS/UEFI or your operating system’s system info.
-
Optionally, run a memory diagnostic tool like MemTest86 to confirm stability.
-
Quick Tips & Troubleshooting
-
If one RAM stick causes boot failure while another doesn’t, test each stick in isolation or in different slots. This can help pinpoint faulty hardware
-
After reseating, if performance remains inconsistent or issues persist, consider testing with known-good RAM or swapping slots.
-
In persistent cases, you may need to check other components like the motherboard or PSU—but reseating remains the simplest initial fix
Summary: Reseating RAM in a Nutshell
| Step | Action |
|---|---|
| 1 | Power down, unplug, and discharge residual power |
| 2 | Ground yourself (anti-static) |
| 3 | Open the case |
| 4 | Locate RAM slots |
| 5 | Release clips and remove modules |
| 6 | Clean contacts if dusty or corroded |
| 7 | Reinsert — ensure proper orientation and secure with click |
| 8 | Close the case and replug |
| 9 | Power on and check RAM detection |
Reseating is a fast, no-cost, low-risk first step when dealing with memory-related issues. Need help with your specific setup or symptoms? Just let us know! We'd be happy to assist!


