The Ultimate Guide to Building a Custom Gaming PC: Plan, Assemble, Tune, and Upgrade
Building a custom gaming PC is about matching parts to goals: maximizing performance where it matters, staying inside your budget, and assembling a system that can grow with you. This guide walks you through planning a 2026 build, picking components for today’s games and streaming, step-by-step assembly, performance tuning, and sensible upgrade paths. You’ll learn how to set a budget based on resolution and refresh rate, compare CPU and GPU families, assemble components safely, benchmark and tune for stable overclocks, and plan upgrades that extend system life. Practical checklists, side-by-side comparisons, and clear instructions make this a useful reference whether you want to DIY or order a hand-built system from a custom shop. We focus on 2026trends — DDR5 memory, NVMe storage, PCIe 5.0, and AI upscaling — and explain why each choice affects fps, load times, and streaming quality. By the end, you’ll have a repeatable plan and maintenance routine that supports everything from 1080p competitive rigs to top-tier 4K systems.
How to Plan Your Custom Gaming PC Build in 2026
Start planning by defining concrete performance targets: resolution, refresh rate, and whether you’ll stream or create content. Those goals determine which components matter most — the GPU and CPU drive frame rates, while NVMe storage and RAM shape load times and responsiveness. A clear budget allocation prevents overspending on non-essential parts by assigning rough percentages to GPU, CPU, memory, storage, and peripherals. Do compatibility checks early (CPU socket, motherboard chipset, PSU wattage, and case clearance) to avoid surprises. Then order parts, gather tools, and block out a build-and-test window so your first boot and stress tests aren’t rushed.
Planning checklist for a focused build:
- Set your gaming targets: resolution, refresh rate, and the titles you play most.
- Decide whether streaming or content creation will need extra CPU cores.
- Assign budget percentages to components that match your goals and timeline.
With this checklist you’ll allocate funds logically. The table below translates those priorities into common budget splits for 2026.
Different budgets call for different allocations — the table below shows typical cost shares and recommended price ranges for entry, mid, and high/ultimate tiers in 2026.
| Component Category | Typical Cost Share (%) | Recommended Budget Range (USD) |
|---|---|---|
| GPU | 30–40% | Entry: $150–$300; Mid: $350–$800; High: $900–$2,000+ |
| CPU | 15–20% | Entry: $100–$200; Mid: $200–$450; High: $450–$800 |
| Memory (DDR5) | 8–12% | Entry: $60–$120; Mid: $120–$250; High: $250–$450 |
| Storage (NVMe) | 8–12% | Entry: $60–$150; Mid: $100–$300; High: $200–$600 |
| Motherboard, PSU, Case, Cooling | 20–25% | Varies by features and quality |
Use these allocations to decide which component tier to prioritize for your resolution and fps targets, then move on with a compatibility checklist so you don’t order mismatched sockets or an undersized power supply.
What Is the Right Budget for a High-Performance Gaming PC?
Your ideal budget starts with the resolution and frame-rate you want. For 1440p at 144Hz, prioritize a strong mid-to-high GPU and a capable 6–8 core CPU; for 4K60 or competitive 1440p, expect to put a much larger share into a high-end GPU. Aim for DDR5 memory at sensible frequencies (DDR5-6000 class is common) and 16–32 GB capacity for multitasking and streaming. Use NVMe SSDs for OS and active game libraries; secondary drives can be slower. The trade-offs are simple: spend on the GPU for raw fps, invest in the CPU if you stream or use heavy multithreaded apps, and balance storage and cooling to avoid thermal or capacity bottlenecks.
Example budget tiers:
- Entry-level: tuned for 1080p competitive play with a cost-conscious GPU and SSD.
- Mid-range: balanced for 1440p with a stronger GPU and faster DDR5 memory.
- High/ultimate: built for 4K and heavy multitasking with top-tier GPU and premium cooling.
These tiers map choices to results and help you decide where each dollar yields the biggest gameplay improvement. Next: should you build it yourself or buy prebuilt?
Should You Buy Prebuilt or Build Custom?
Choosing DIY versus a vendor-built system comes down to confidence, time, and how much support you want. Building yourself gives you control, learning, and potential cost savings, but you take on compatibility troubleshooting and warranty coordination. Prebuilt or hand-built systems from reputable shops include testing, tuned configurations, and often extended support that gets you playing sooner and reduces early-failure risk. If you want a highly customized machine with post-sale support, a custom builder offers peace of mind through shop-level burn-in and warranty services.
Pros and cons at a glance:
- DIY: tighter cost control, full customization, and hands-on learning.
- Vendor-built: pre-testing, professional tuning, and support or warranty options.
- Pick DIY if you enjoy building and upgrading; pick vendor-built for convenience and support.
If you prefer hands-off ownership with burn-in and lifetime support, some builders offer fully custom, optimized systems that simplify upgrades and reduce build risk.
Which Components Deliver the Best Gaming Performance?
Every component affects gaming differently: the GPU dictates frame rates, the CPU influences minimum fps and streaming performance, RAM smooths multitasking and frametimes, and NVMe storage cuts load times. In 2026, DDR5, PCIe 5.0 readiness, and NVMe SSDs are standard for responsiveness. Compatibility is still critical: match CPU socket and chipset to the motherboard, check RAM QVL when pushing high speeds, and size the PSU for peak power plus future upgrades. Good cooling and airflow prevent thermal throttling during long sessions and keep fps consistent.
Component comparison (key 2026 examples and use-cases):
| Component | Key Spec / Family | Best For |
|---|---|---|
| CPU | Intel Core Ultra / AMD Ryzen 9000 families | Gaming + streaming; favor single-core strength for top fps |
| GPU | NVIDIA GeForce RTX 50 Series / AMD Radeon RX 7000 series | Ray tracing and AI upscaling (DLSS / FidelityFX) across resolutions |
| RAM | DDR5-6000 (or higher) | High-frequency gaming and content workflows |
| Storage | NVMe SSD (PCIe 4.0 / 5.0) | Fast load times, snappy OS, and large game libraries |
This table helps you prioritize parts by goals and shows where technologies like DLSS or FidelityFX can boost fps without a major quality hit. Next, we’ll look at CPU choice with an eye to workload balance.
How to Choose a CPU: Intel vs AMD
Picking a CPU is a tradeoff between single-thread performance, core count, and upgrade potential. In 2026, Intel Core Ultra and AMD Ryzen 9000 both offer strong options. Intel often nudges ahead on single-core IPC (beneficial for peak fps in some games), while AMD frequently gives competitive multi-core throughput and value for streaming or CPU-heavy tasks. If you stream, prioritize higher core and thread counts so encoding doesn’t steal fps. Also pick a motherboard with an upgrade-friendly chipset and solid VRM cooling to extend platform life.
When to choose each:
- Choose Intel when peak single-thread fps matters most for your favorite titles.
- Choose AMD when multi-core performance and price-per-core are priorities.
- Always favor motherboards with good VRMs and upgrade paths for longevity.
These CPU decisions set the stage for your GPU choice, which usually takes the biggest chunk of the budget.
Which GPU Should You Buy: NVIDIA or AMD?
The GPU is the single biggest driver of in-game fps — match the GPU class to your resolution and refresh-rate goals. For 1080p competitive play, a high-clock mid-range GPU is ideal; for 1440p144Hz, aim for upper-mid cards; for 4K and ray tracing, you’ll need top-tier GPUs. NVIDIA’s RTX 40/50-class cards push ray tracing and DLSS for higher fps with modest quality loss, while AMD’s RX 7000 series competes on raw raster performance and uses FidelityFX Super Resolution for upscaling. Also factor in power draw and cooling: high-end cards need a beefy PSU and solid case airflow.
GPU selection guide:
- 1080p 144Hz: efficient mid-range card for high fps.
- 1440p 144Hz: upper-mid to high cards for consistent 100+ fps.
- 4K 60FPS+: high-end cards with ray-tracing and AI upscalers to keep gameplay smooth.
After picking a GPU, size your PSU and plan case airflow to meet its thermal and power demands — we cover assembly next.
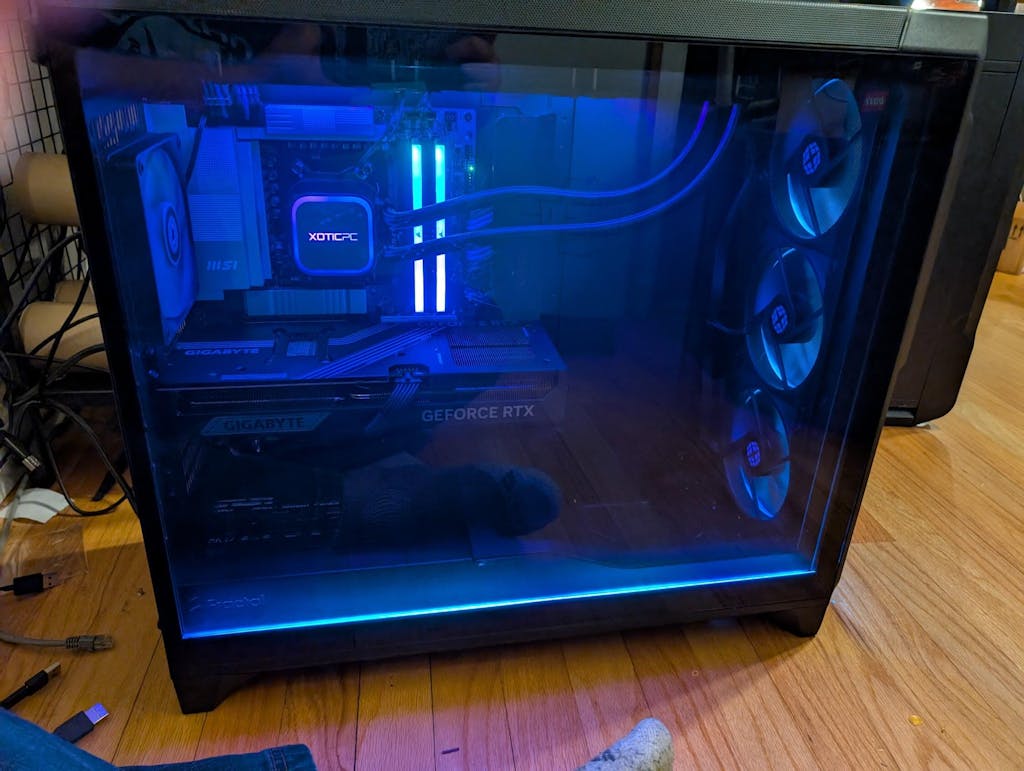
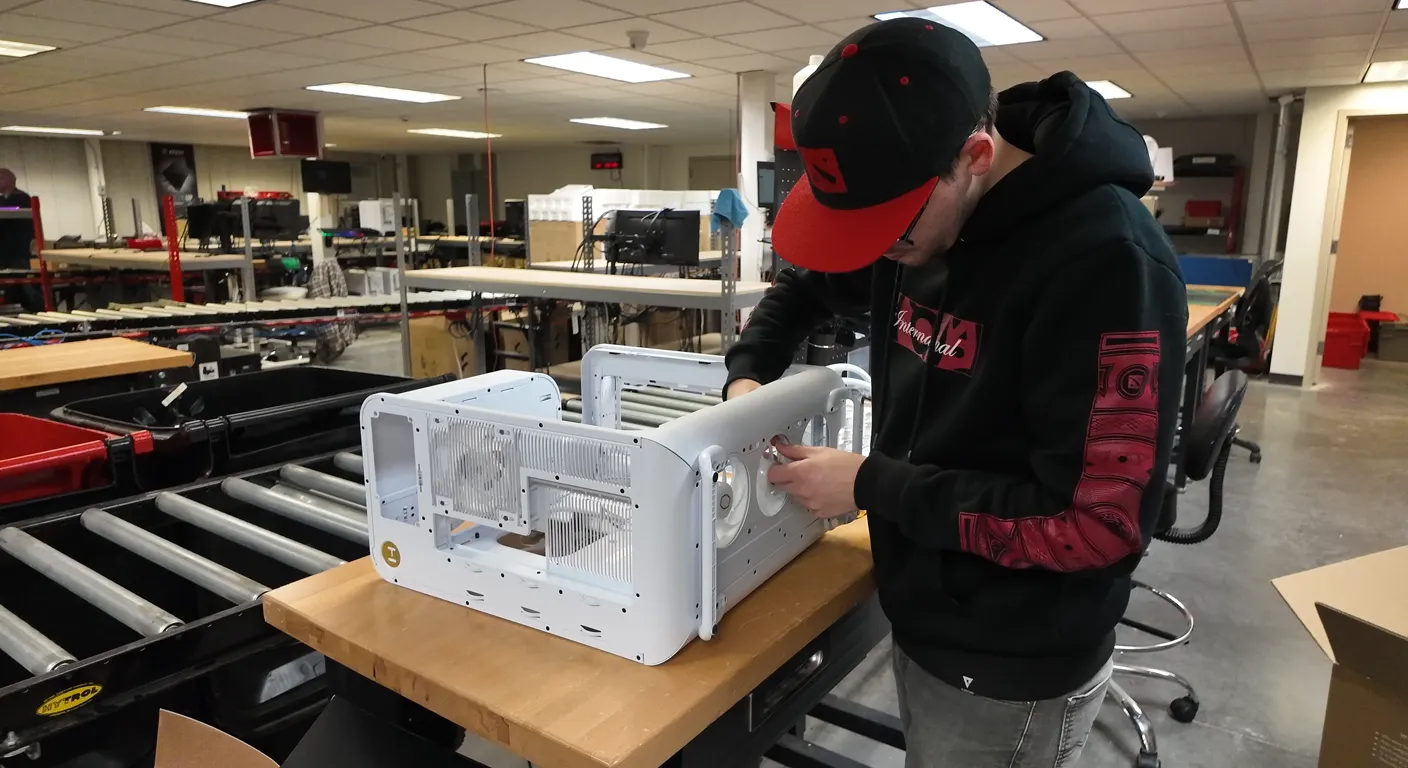
How to Build Your Custom Gaming PC — Step by Step
Building a PC follows a reliable sequence that reduces risk and speeds troubleshooting: prepare your workspace and tools, install the CPU and cooler on the motherboard, seat RAM and M.2 drives, mount the board in the case, connect the PSU and route cables, then install and power the GPU. Use anti-static precautions and moderate torque on screws to avoid damage. On first boot, verify POST, set BIOS defaults, enable XMP/EXPO for memory, update firmware, and install chipset drivers before loading games. Run short stability tests first, then longer stress tests to confirm cooling and power delivery under load.
Essential tools and workspace setup:
- Phillips #2 screwdriver, anti-static wrist strap, cable ties.
- Flat, well-lit surface with good ventilation for testing.
- Small flashlight or phone light, thermal paste if needed, and a magnetic parts tray.
These tools help prevent common errors like missing standoffs or misaligned I/O shields. The next section walks through key installation steps.
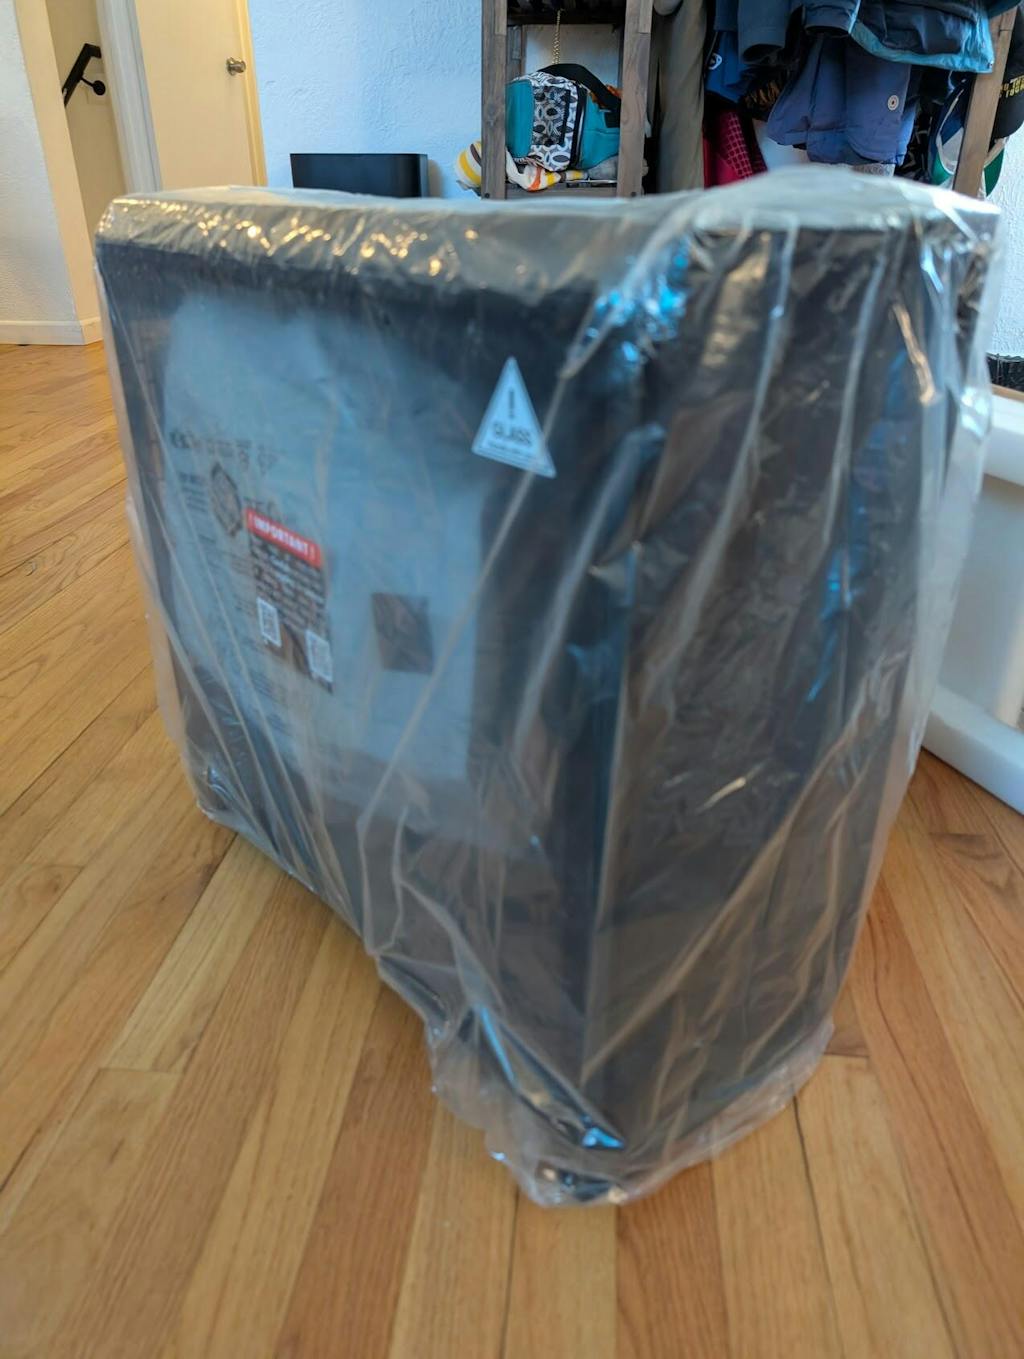
Tools and Workspace Checklist for Building a PC
A small toolkit and an organized workspace make builds faster and safer: Phillips #2 screwdriver, anti-static wrist strap or mat, cable ties and scissors, and a brush for dust. Clear space for boxes and parts reduces accidental drops, and good ventilation keeps temps lower during testing. Expect 1–3 hours for a first-time build and 30–90 minutes if you’ve done it before. Avoid common mistakes like overtightening screws, forgetting motherboard standoffs, or not checking clearance for tall coolers or drive cages.
Workspace checklist summary:
- Have essential tools and anti-static measures ready before unpacking parts.
- Lay out parts in the build order for smooth assembly.
- Set aside time for methodical build and immediate first-boot testing.
With preparation done, proceed to component installation.
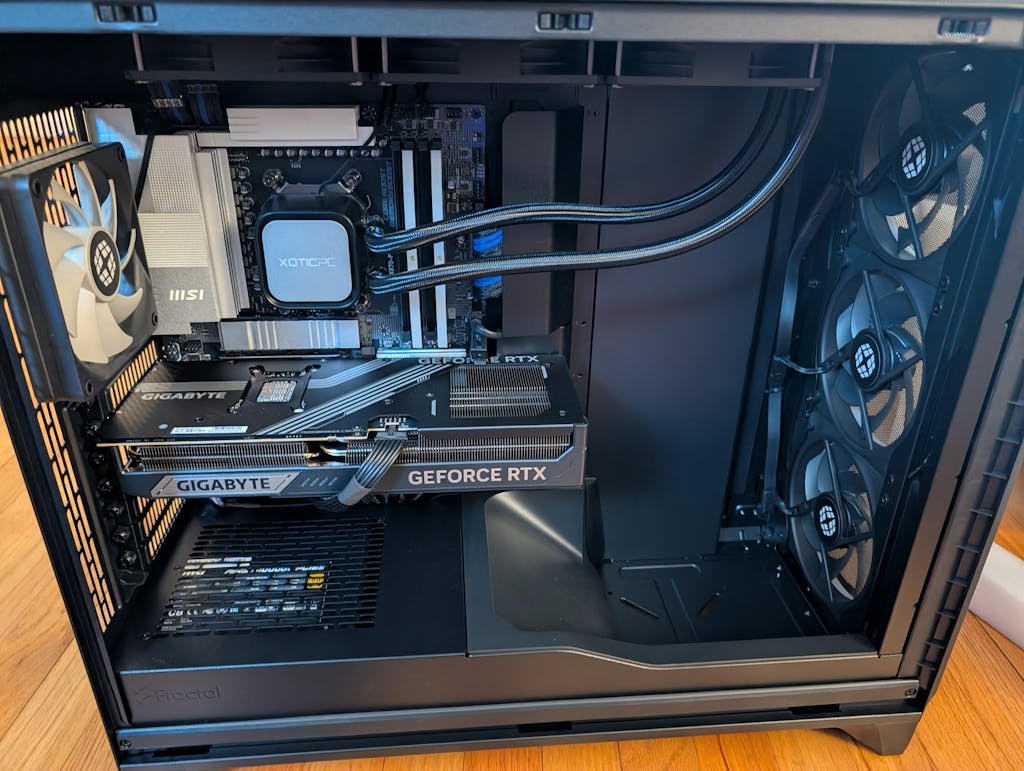
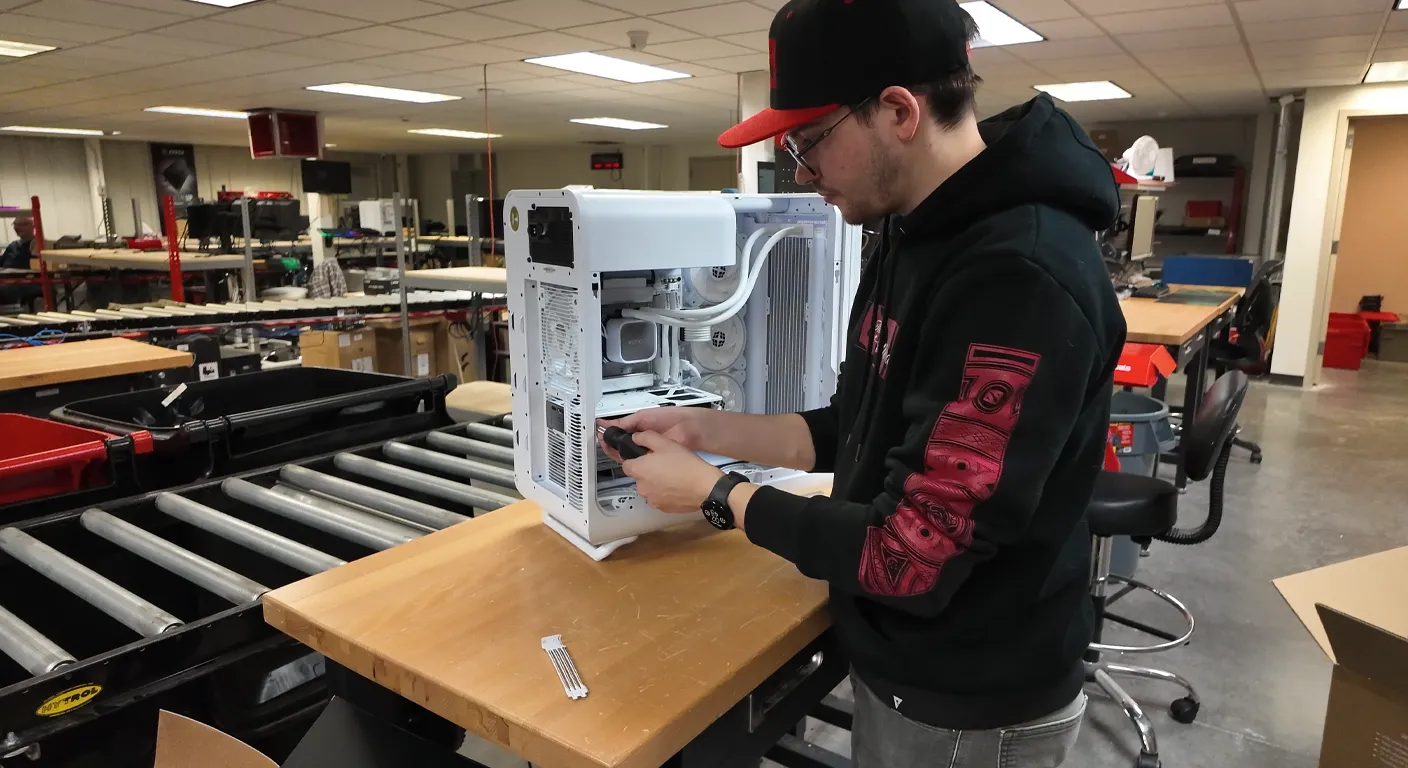
Installing the CPU, GPU, RAM, and Storage
Seat the CPU in the motherboard socket using alignment markers, apply a pea-sized blob of thermal paste if the cooler isn’t pre-pasted, and mount the cooler per the manufacturer’s torque guidance. Install DDR5 modules in the recommended DIMM slots and enable XMP/EXPO in BIOS to reach rated speeds — check clearance with tall coolers. Insert M.2 NVMe SSDs in their slots and secure with the standoff screw, then mount the motherboard to case standoffs to avoid shorts. Finally, install the GPU in the primary PCIe slot, connect required PCIe power cables from a properly rated PSU, and route cables for airflow and tidy looks before powering on.
Quick compatibility checks:
- Confirm CPU cooler clearance and proper socket alignment before applying paste.
- Verify your PSU includes the needed PCIe power connectors for your GPU.
- Check M.2 slot specs (PCIe 4.0 vs 5.0) to match your SSD’s performance needs.
After hardware is installed, move to BIOS setup and driver installs to prepare for benchmarking and tuning.
How to Optimize Performance After Building
Optimization covers driver and OS tuning, identifying bottlenecks with benchmarks, safe overclocking, and thermal tuning to lower noise while keeping performance. Benchmarks give objective fps, 1% lows, and temperature data so you can measure gains. Updating GPU and chipset drivers, and choosing the right OS power profile, often yields improvements without hardware changes. Fan curves and AIO pump profiles help balance noise and temps. Overclocking can increase fps, but proceed in small steps with stability testing and sufficient cooling and power headroom.
Benchmarking and tuning checklist:
- Run synthetic and in-game benchmarks to establish baseline fps and temps.
- Update GPU and chipset drivers, then re-test to confirm gains.
- Overclock incrementally and validate stability at each step while monitoring temps.
These steps produce measurable gains and protect components. The table below shows typical outcomes from common tuning moves.
| Tuning Area | Metric | Expected Outcome |
|---|---|---|
| GPU driver update | Average fps | +3–8% depending on the driver release |
| Memory XMP/EXPO enable | Load times / min fps | Smoother frametimes and a small fps uplift |
| Moderate GPU overclock | Peak fps | +5–12% with stable temps and adequate cooling |
| Fan curve optimization | Noise (dB) / Temp | Lower perceived noise at similar temps when tuned |
Use benchmark results to decide whether you need more cooling or a hardware upgrade. Next, best practices for benchmarking and safe overclocking.
Best Practices for Benchmarking and Overclocking
A consistent benchmarking routine starts with updated drivers, disabling unnecessary background tasks, and using the same settings across runs for reliable comparisons. Combine synthetic and real-game tests to capture both extremes and typical play. Log average fps, 1% lows, and component temps. For overclocking, raise clocks or voltages in small increments, test stability with stress tools, and keep an eye on temperatures. Save known-good defaults so you can roll back if instability appears. Use safety thresholds for GPU core and CPU package temps to avoid long-term wear.
Benchmark and overclock toolbox:
- Synthetic and in-game benchmarks for repeatable metrics.
- Stress-testing tools for sustained stability verification.
- Temperature and power monitors to maintain safe tuning margins.
Following these practices yields repeatable performance gains while minimizing risk. Thermal management keeps those gains sustainable.
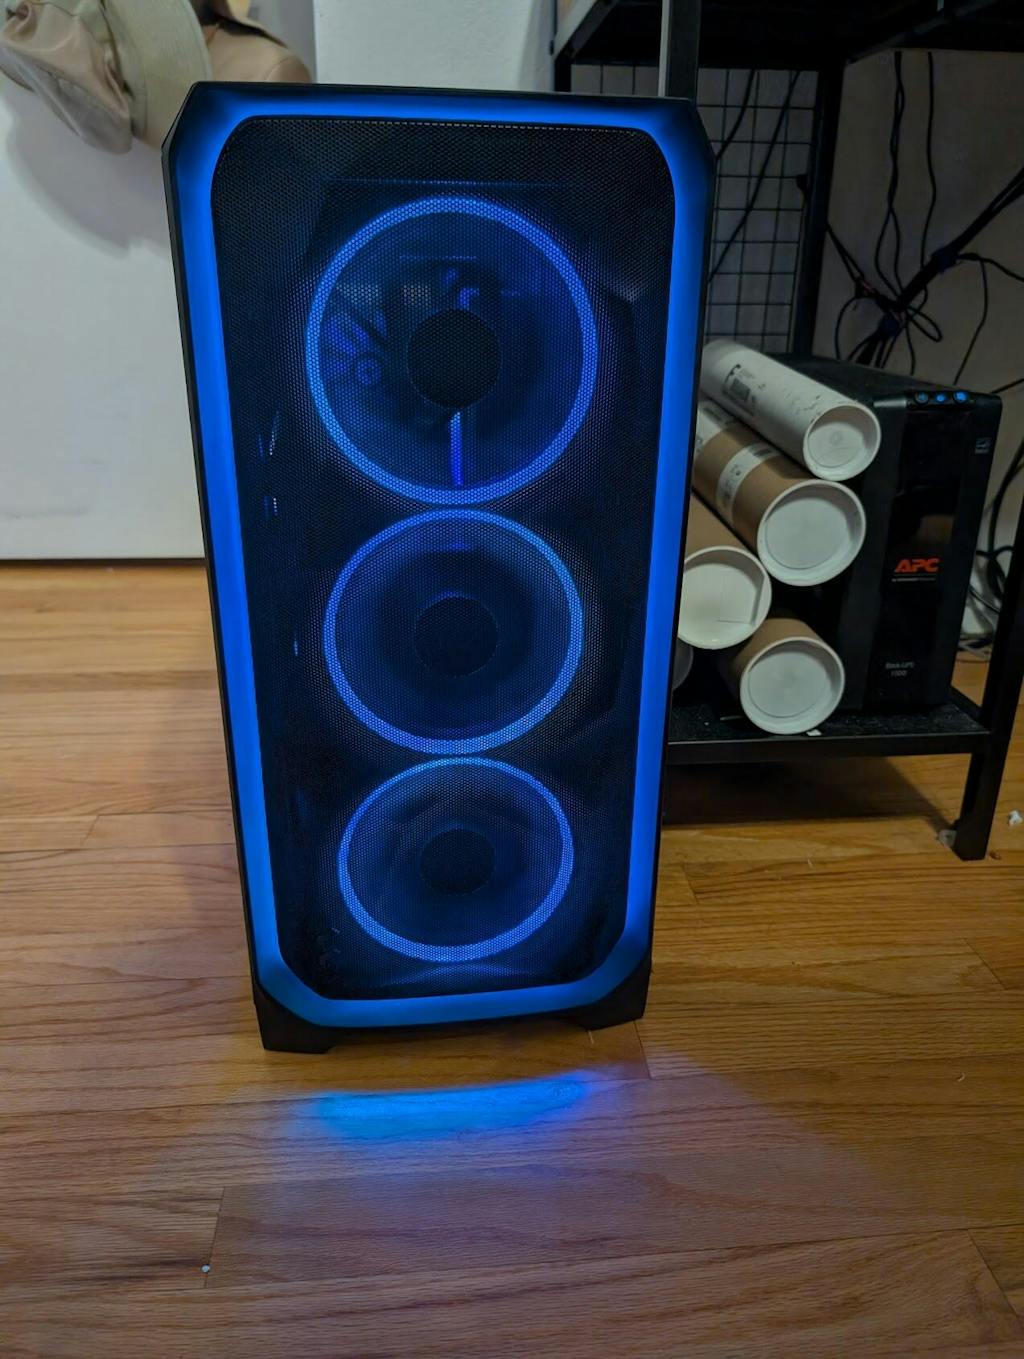
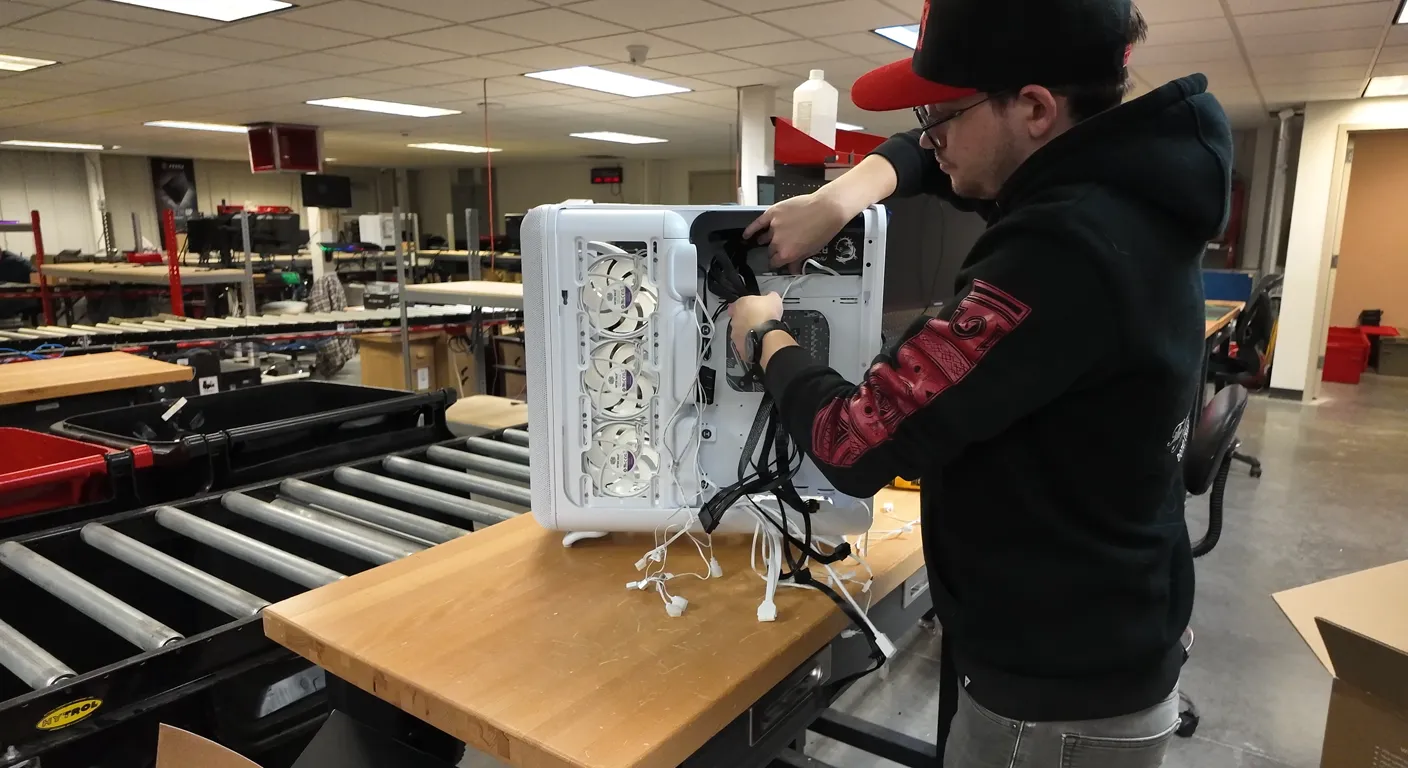
Thermal Strategy and Noise Reduction
Good thermal management starts with proper case airflow: clearly defined intake and exhaust paths, quality intake filters, and unobstructed airflow routes prevent heat pockets. Match cooling to thermal load — high-end air coolers handle steady-state CPU loads well, while AIO liquid coolers can shave temps in tight builds or high-core-count systems. Tune fan curves to keep noise down during light use and ramp under heavy load to avoid throttling. Correct thermal paste application and regular cleaning preserve heat transfer over time.
Cooling strategy checklist:
- Balance intake and exhaust to tune dust control and airflow (positive or neutral pressure).
- Choose AIO or premium air cooling based on CPU TDP and case fit.
- Fine-tune fan curves for the best noise-to-performance trade-off.
Sound thermal design lets overclocks stay stable and prevents throttling that hurts frame-rate consistency.
When and How to Upgrade and Maintain Your Custom PC
Upgrade when benchmarks and utilization reveal a bottleneck, or when you want new features like higher-fidelity ray tracing. Monitor fps, 1% lows, and CPU/GPU utilization to find the limiting component. GPU upgrades normally give the largest jump in gaming performance; CPU or RAM upgrades help if minimum fps or streaming is constrained. Maintain your system with routine dusting, fan checks, BIOS and driver updates, and reapplying thermal paste every few years to prevent performance decline. If you prefer a managed path, trade-in and upgrade services from custom builders make transitions smoother and preserve system value.
Upgrade decision flow:
- Identify the bottleneck with benchmarks and utilization data.
- Prioritize GPU upgrades for fps, SSDs for load times, and RAM/CPU for streaming or compute tasks.
- Keep a maintenance schedule to sustain performance and reliability.
Many builders offer trade-in, lifetime support, and warranty options to simplify upgrades and long-term ownership.
Best Components to Upgrade First
GPU upgrades usually deliver the biggest jump in fps and visual fidelity, especially when moving to a newer architecture with improved ray-tracing and AI upscaling. Upgrading to NVMe storage reduces load times noticeably, and adding RAM eases stuttering during heavy multitasking or content work. CPU upgrades can improve minimum fps and physics workloads but check socket compatibility and possible BIOS updates first. Always verify PSU headroom, case clearance, and BIOS support before buying parts.
Upgrade priority checklist:
- GPU first for the largest gaming performance gains.
- Storage and RAM next for faster load times and smoother multitasking.
- CPU last, unless benchmarks clearly show it’s the bottleneck.
Phased upgrades like this maximize value while keeping gameplay improvements obvious.
Routine Maintenance and Troubleshooting Tips
Regular maintenance keeps a PC reliable: clean dust from filters and heatsinks monthly (or as your environment demands), inspect fans and replace noisy bearings, and refresh thermal paste every 2–4 years or when temps climb. Keep drivers and BIOS reasonably current, but avoid rushed firmware updates during critical periods — follow manufacturer instructions and ensure stable power when updating BIOS. For no-POST or driver problems, follow a stepwise troubleshooting flow: reseat memory and GPU, test with minimal components, check POST codes or beep patterns, and swap in known-good parts when available.
Maintenance and troubleshooting checklist:
- Routine dust cleaning and filter checks to maintain airflow.
- Periodic driver and firmware updates, and careful BIOS flashes when needed.
- Step-by-step diagnostics for POST failures and driver conflicts.
If you’d rather not diagnose hardware yourself, consider a custom builder that offers trade-in services, lifetime support, and pre-delivery burn-in to reduce downtime and risk.
| Upgrade Path | Service / Feature | Benefit |
|---|---|---|
| Trade-in & upgrade service | Professional hardware replacement | Simplifies transitions and keeps your system aligned |
| Lifetime warranty & support | Ongoing technical assistance | Reduces repair uncertainty and long-term cost |
| Pre-testing / burn-in | Stress testing before delivery | Catches early failures and ensures stability |
1. When to upgrade: Upgrade when benchmarks and utilization show clear bottlenecks or when new game features demand more power. 2. How to maintain: Keep a regular cleaning and software-update cadence to prevent performance erosion. 3. If you prefer managed upgrades: Services like trade-in, lifetime support, and pre-delivery burn-in simplify ownership and reduce upgrade friction.
If you choose to work with a builder, look for providers that hand-build systems, perform thorough pre-testing, and offer lifetime support so your investment stays protected and upgrade-ready. XOTIC PC, for example, emphasizes hand-built systems in Nebraska with deep customization options, lifetime support, and trade-in/upgrade services for buyers who want a fully supported ownership experience.
1. Plan upgrades from measured bottlenecks to get the best ROI. 2. Maintain a regular cleaning and firmware schedule to keep performance steady. 3. Use professional services for complex upgrades or warranty-backed peace of mind when you want minimal downtime.
This checklist gives a practical, measurable approach to upgrades and maintenance so your custom gaming PC stays fast and future-ready.
Frequently Asked Questions
What are the benefits of using NVMe storage in a gaming PC?
NVMe storage offers significantly faster data transfer speeds compared to traditional SATA SSDs and HDDs, which translates to quicker load times for games and applications. This speed is particularly beneficial for gaming, as it reduces the time spent waiting for levels to load and enhances overall system responsiveness. Additionally, NVMe drives utilize the PCIe interface, allowing for higher bandwidth and lower latency, making them ideal for high-performance gaming setups where every millisecond counts.
How can I ensure my custom gaming PC is future-proof?
To future-proof your gaming PC, focus on selecting high-quality components that support the latest technologies, such as DDR5 RAM and PCIe 5.0. Opt for a motherboard with upgrade-friendly features, including multiple M.2 slots and ample power delivery for future CPUs. Additionally, consider investing in a higher wattage PSU to accommodate potential upgrades. Regularly updating your software and drivers, along with maintaining your hardware, will also help keep your system relevant as gaming demands evolve.
What is the importance of thermal management in a gaming PC?
Thermal management is crucial for maintaining optimal performance and longevity of your gaming PC components. Effective cooling prevents overheating, which can lead to thermal throttling, reducing performance during intense gaming sessions. Proper airflow design, quality cooling solutions, and regular maintenance, such as cleaning dust from fans and heatsinks, help ensure that temperatures remain within safe limits. This not only enhances performance but also extends the lifespan of critical components like the CPU and GPU.
How often should I upgrade my gaming PC components?
The frequency of upgrades depends on your gaming needs and the performance of your current setup. Generally, consider upgrading components when you notice significant drops in performance, such as lower frame rates or longer load times. For most gamers, a good rule of thumb is to evaluate upgrades every 2-3 years, focusing first on the GPU for the most noticeable performance boost. Regularly monitoring benchmarks and utilization can help identify when an upgrade is necessary.
What tools do I need to build a custom gaming PC?
Building a custom gaming PC requires a few essential tools to ensure a smooth assembly process. A Phillips #2 screwdriver is necessary for securing components, while an anti-static wrist strap helps prevent static damage. Cable ties and scissors are useful for managing cables neatly. Additionally, having a flat, well-lit workspace with good ventilation is important for comfort and safety during the build. Optional tools like a flashlight and thermal paste can also be helpful for specific tasks.
What are the signs that my gaming PC needs maintenance?
Signs that your gaming PC may need maintenance include increased noise from fans, overheating components, and noticeable drops in performance. If you observe dust buildup on filters and heatsinks, or if your system experiences frequent crashes or slow load times, it’s time for a checkup. Regularly inspecting and cleaning your PC, updating drivers, and reapplying thermal paste every few years can help maintain optimal performance and prevent long-term damage.
Can I mix different brands of components in my gaming PC?
Yes, you can mix different brands of components in your gaming PC, as long as they are compatible with each other. For example, you can use an AMD CPU with an NVIDIA GPU or a motherboard from one brand with RAM from another. However, it’s essential to ensure that all components meet compatibility requirements, such as socket types, RAM speeds, and power supply connections. Researching and verifying specifications will help you create a well-functioning system regardless of brand.