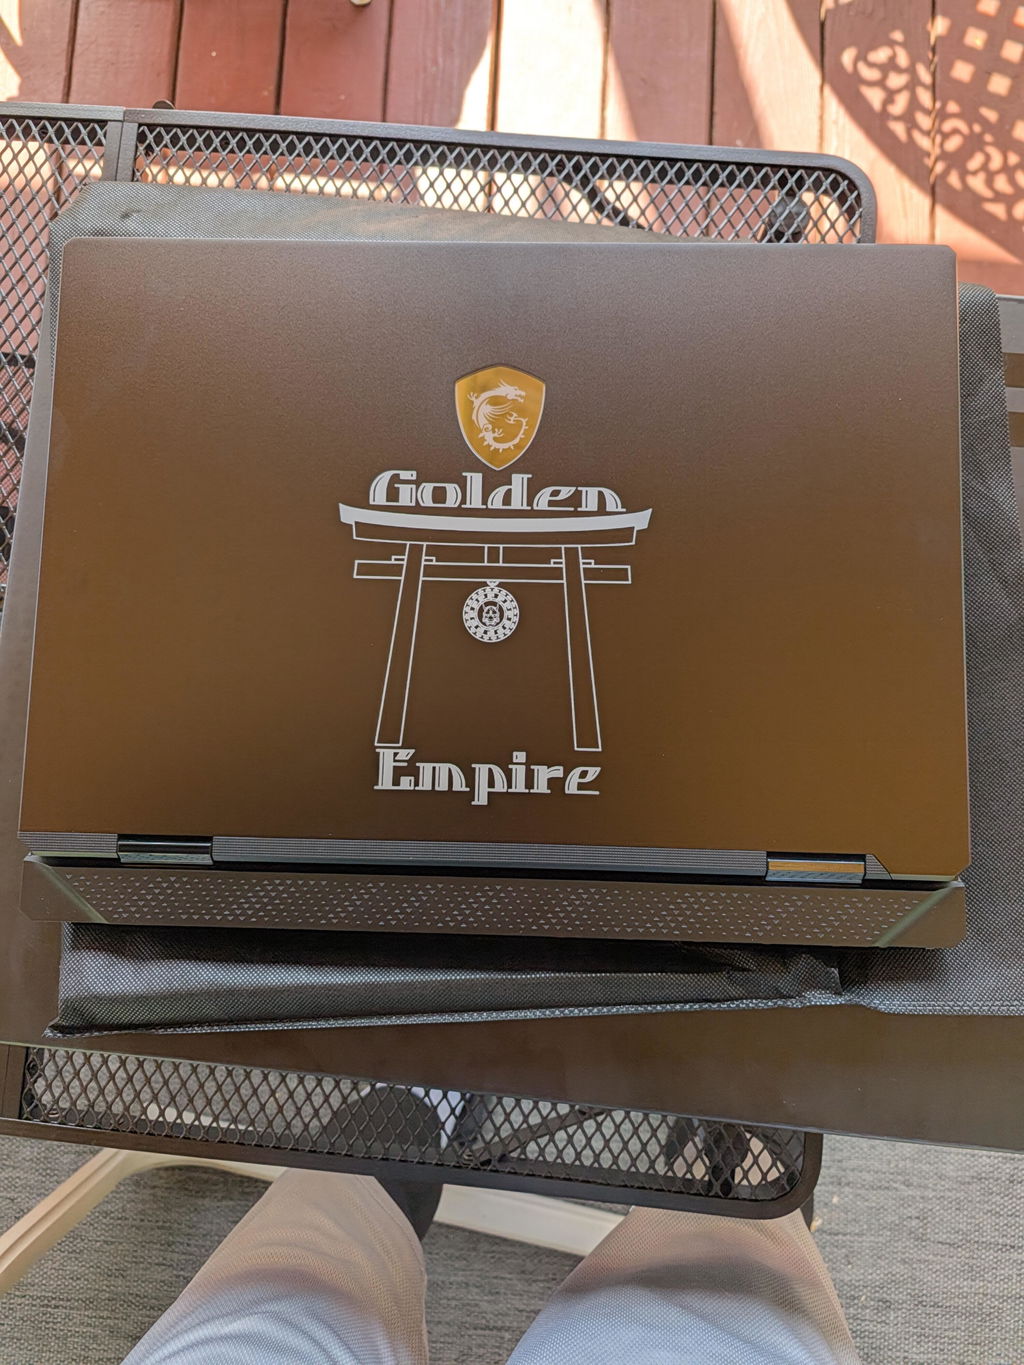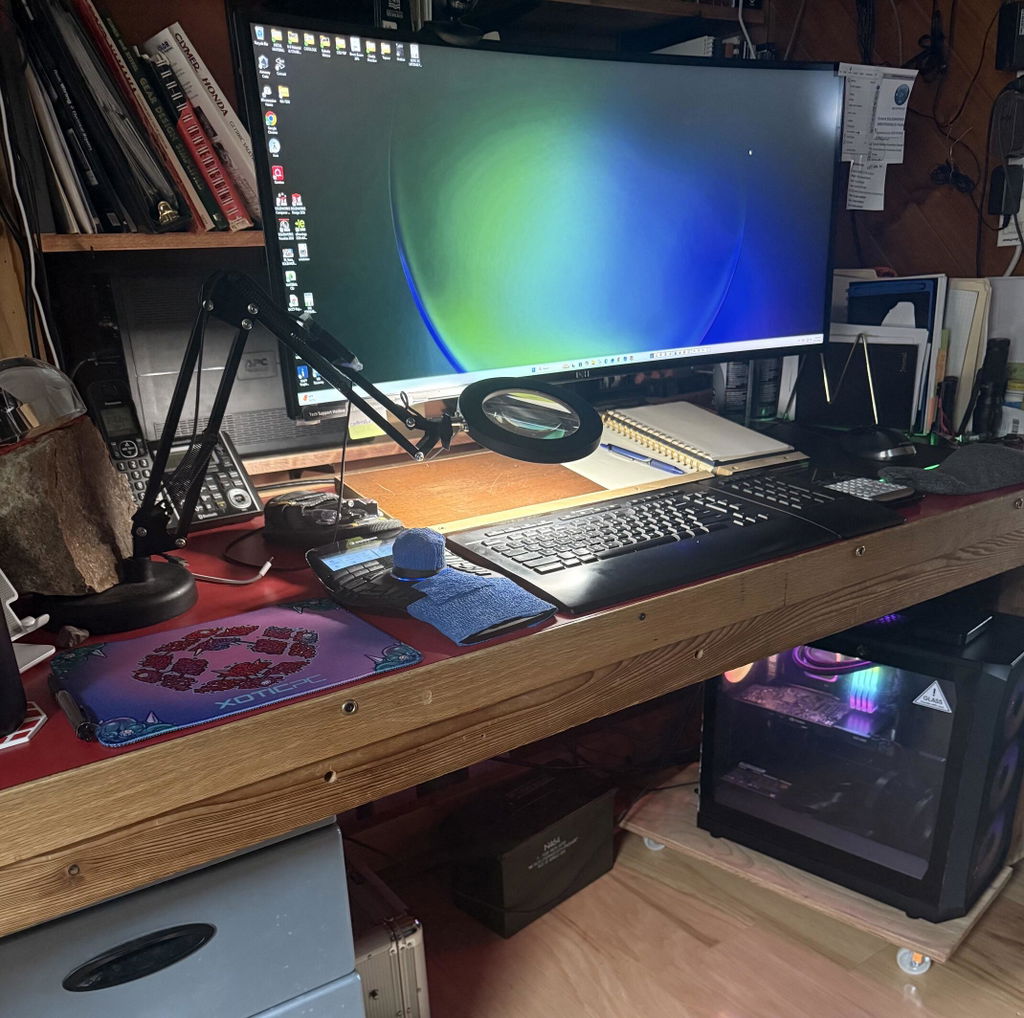


How to Build Your Own Laptop: A Complete Step-by-Step Guide (2026)
Want to build your own laptop from scratch? This guide covers everything you need to know — from selecting compatible components to final assembly and OS installation — so you can create a custom portable machine tailored to your exact needs.
Building your own laptop is one of the most rewarding projects a PC enthusiast can take on — but it's also fundamentally different from building a desktop. With over 300,000 custom systems built since 1999, the team at XOTIC PC has helped thousands of customers navigate the nuances of custom laptop hardware. In this guide, we'll walk you through exactly how to build your own laptop, step by step, with honest expectations about what the process involves in 2026.
What does "build your own laptop" mean in 2026? Unlike desktop PCs, true DIY laptop assembly means selecting a compatible barebones laptop chassis (also called a Clevo or Sager shell), then populating it with your chosen CPU, RAM, storage, GPU (in MXM-equipped systems), and operating system. The result is a fully custom, high-performance laptop configured precisely to your workload and budget — no compromises on specs, no bloatware, and no paying for features you don't need.
This guide applies primarily to barebones MXM-based laptops and modular chassis platforms available in 2026. Some sections will note where fully soldered ultrabook designs differ. [Source: Laptop Repair Basics, iFixit.com]
What You'll Need Before You Start
Tools
Phillips-head screwdrivers (sizes PH0 and PH1)
Plastic spudger or pry tool set
Anti-static wrist strap
Thermal paste (high-quality compound such as Thermal Grizzly Kryonaut)
Compressed air canister
Small parts tray or magnetic mat
Good lighting (a headlamp or desk lamp)
Components You'll Need to Source
Barebones laptop chassis (e.g., Clevo V540TU1, Clevo V560TU, Clevo L260JUX)
CPU — compatible with your chassis socket (Intel or AMD)
RAM — DDR5 SO-DIMMs in 2026 (16GB–64GB typical)
Primary NVMe SSD — M.2 PCIe 4.0 or 5.0
Operating System — Windows 11 license or Linux distribution
Optional: Secondary SSD or HDD for mass storage
Optional: MXM GPU card — if your chassis supports discrete graphics upgrades
Optional: WiFi 6E/7 M.2 card if not included in chassis
⚠ Important Limitation: The vast majority of consumer laptops sold in 2026 use soldered-on CPUs and GPUs. True component-level laptop building requires selecting a chassis specifically designed for upgradability — such as Clevo/Sager barebones platforms. Framework Laptop is another modular option at the consumer level. This guide focuses on the Clevo/barebones approach used by professional custom builders. [Source: Clevo Co., Ltd. OEM Documentation, 2026]
Step 1: Choose the Right Barebones Laptop Chassis
The barebones chassis is the foundation of your entire build. It determines screen size, GPU capability, thermal headroom, port selection, and which CPUs and RAM configurations are compatible.
1a. Decide on Your Primary Use Case
Gaming and content creation: Look for chassis with dedicated MXM GPU slots, high-refresh displays (165Hz+), and robust cooling arrays
Business and productivity: Prioritize slim profiles, Thunderbolt 4/5 support, long battery life, and fingerprint readers
Mobile workstation: Consider chassis with ECC RAM support, ISV certifications, and optional OLED or color-calibrated displays
1b. Match Chassis to CPU Platform
In 2026, barebones laptops are built around these dominant platforms:
AMD Ryzen 9000-series (HX and HS variants): Excellent multi-threaded performance and integrated Radeon graphics; great for gaming and creative workloads
Intel Core Ultra 200HX series (Arrow Lake-HX): High clock speeds with AI NPU capabilities; strong for productivity-heavy workflows
AMD Ryzen AI MAX series: Integrated RDNA 4 graphics powerful enough for gaming without a discrete GPU — an emerging option for slim builds
Pro Tip: Never mix and match a CPU from a different platform than the chassis is designed for. Verify socket compatibility (AM5 vs. LGA 1851) before purchasing any components.
1c. Consider Real-World Barebones Examples
If you want a head start, XOTIC PC offers pre-configured systems built on proven Clevo platforms that you can reference for component compatibility:
SAGER NP3541U (Clevo V540TU1) — 15.6" slim productivity chassis, starting at $1,249
SAGER NP3561U (Clevo V560TU) — 16" performance chassis with discrete GPU support, starting at $1,299
SAGER NP3262U (Clevo L260JUX) — Ultra-slim 13" business chassis, starting at $1,699
Step 2: Select Compatible Components
With your chassis confirmed, it's time to spec out your components. Use your chassis manufacturer's Hardware Compatibility List (HCL) as your bible here.
2a. Choose Your RAM
Most 2026 gaming and performance laptop chassis accept DDR5 SO-DIMM modules at speeds of 5600MHz to 7200MHz. Key guidelines:
Install RAM in matched pairs for dual-channel bandwidth — this meaningfully improves GPU performance in integrated-graphics builds
16GB DDR5 is the minimum for gaming in 2026; 32GB is recommended for content creators
Verify maximum RAM support — many chassis top out at 64GB across two slots
[STAT] Dual-channel DDR5 at 6400MHz delivers approximately 85–90 GB/s of memory bandwidth vs. 42–45 GB/s for single-channel — a nearly 2x improvement that directly impacts integrated GPU frame rates. [Source: Anandtech Memory Scaling Methodology, 2025]
2b. Select Your Primary NVMe SSD
Use a PCIe 4.0 or PCIe 5.0 M.2 2280 NVMe SSD as your primary OS drive
500GB is the absolute minimum in 2026; 1TB or 2TB is strongly recommended
Confirm whether your chassis has a secondary M.2 slot for a second drive
2c. Consider the Wireless Card
Many barebones chassis include a WiFi card, but if yours doesn't — or if you want an upgrade — install a WiFi 6E or WiFi 7 M.2 card in the dedicated wireless slot. The Intel BE200 (WiFi 7) is the leading option in 2026 and adds Bluetooth 5.4.
2d. Prepare Your OS License
Have a valid Windows 11 Home or Pro license key ready, or prepare a bootable USB drive with your chosen Linux distribution (Ubuntu 24.04 LTS and Fedora 40 both have excellent laptop hardware support in 2026).
Step 3: Prepare Your Workspace
3a. Set Up an Anti-Static Environment
Work on a non-carpeted, flat surface
Clip your anti-static wrist strap to a grounded metal object or the chassis frame
Handle RAM, SSDs, and wireless cards by their edges — never touch gold contacts
3b. Organize Your Screws
Laptop screws are tiny, plentiful, and easy to confuse. Use a magnetic parts tray with labeled sections. Many builders photograph each disassembly step on their phone so they have a visual reference for reassembly.
Pro Tip: Place each screw in the approximate position on the tray where it came from in the chassis. This makes reassembly dramatically faster and prevents stripped threads from wrong-sized screws.
Step 4: Install RAM and Storage
This is typically the first hardware installation step and the most accessible, even on barebones chassis.
4a. Access the Internals
Flip the laptop upside down on a clean surface
Remove all bottom panel screws — count them and note different lengths
Use a plastic spudger to gently pry up the bottom panel, starting at a corner notch
Work around the perimeter slowly; never force the panel
4b. Install the RAM
Locate the SO-DIMM slots — typically covered with a metallic retention clip or foam pad
Insert the first RAM stick at a 30–45 degree angle, gold contacts first, into Slot A (usually labeled on the PCB)
Press the module firmly until it clicks into the retention clips on both sides
Repeat for the second module in Slot B for dual-channel operation
4c. Install the Primary NVMe SSD
Locate the primary M.2 slot (usually marked "SSD1" or "NVME1" on the PCB silkscreen)
Remove the single retention screw at the far end of the slot
Insert the NVMe SSD at a 30-degree angle, gold contacts first
Press down gently and replace the retention screw — do not overtighten
If a thermal pad or heatspreader bracket is included, install it over the SSD
4d. Install the Wireless Card (If Required)
Locate the M.2 Key-E wireless slot
Carefully disconnect the antenna cable connectors if they are pre-attached to a placeholder card
Insert your WiFi card and secure it with the retention screw
Reconnect the antenna cables — typically two wires, labeled or color-coded for Main and Aux
Pro Tip: Antenna cable connectors snap onto the WiFi card with very light pressure. Press straight down until you feel a soft click. Never yank or twist these connectors — they are extremely fragile.
Step 5: Apply Thermal Paste and Reassemble
5a. Inspect the CPU Cooler
Barebones chassis ship with the heatsink/heatpipe assembly already installed over the CPU die. Before closing up, check whether factory thermal compound has been applied. If the chassis is truly new and untouched, factory paste is usually acceptable. If you are rebuilding or the chassis has been used, clean old compound off with isopropyl alcohol (90%+) and reapply.
5b. Apply Thermal Paste
Clean the CPU die and cooler contact plate with isopropyl alcohol and a lint-free cloth
Apply a small pea-sized dot (approximately 3–4mm) of thermal paste to the center of the CPU die
Do NOT spread manually — pressure from the heatsink will distribute it evenly
Reattach the heatsink using a star-pattern tightening sequence — alternate sides to ensure even pressure
5c. Close the Chassis
Lay the bottom panel back into position — it should align without forcing
Press around the perimeter to snap retention clips back into place
Replace all screws, referencing your notes or photos from disassembly
Do a final check that no cables are pinched and all ports are accessible
Step 6: Install the Operating System
6a. Create a Bootable USB Drive
On another PC, download the Windows 11 Media Creation Tool from Microsoft.com or download your Linux ISO
Use Rufus (Windows) or Balena Etcher (cross-platform) to write the ISO to a USB drive (8GB minimum)
6b. Boot from USB
Connect the bootable USB to your new laptop
Power on and immediately press the boot menu key — this is typically F7, F11, or F12 on Clevo-based chassis
Select your USB drive from the boot menu
6c. Complete OS Installation
Follow the on-screen prompts to install Windows 11 or your Linux distro
When asked where to install, select your NVMe SSD
Enter your license key when prompted (Windows)
Allow the installation to complete and reboot
6d. Install Drivers
Visit your chassis manufacturer's support page (e.g., Clevo or Sager) and download the driver pack for your specific model
Install drivers in this order: chipset → GPU → audio → WiFi/Bluetooth → remaining utilities
Reboot after each major driver installation
Pro Tip: Run Windows Update immediately after driver installation. Windows 11 in 2026 often supplies updated GPU drivers and firmware patches that supersede the manufacturer's driver pack.
Step 7: Verify, Benchmark, and Optimize
7a. Check Hardware Is Recognized Correctly
Open Device Manager (right-click Start → Device Manager)
Confirm no yellow exclamation marks appear on any device
Open Task Manager → Performance tab and verify RAM shows the correct amount and speed in dual-channel mode
7b. Run Initial Benchmarks
Validate your build performs as expected:
CPU performance: Cinebench 2025 — a score within 5–10% of published review scores for your CPU confirms proper operation
GPU performance (if discrete): 3DMark Time Spy
Storage speed: CrystalDiskMark — confirm your NVMe SSD achieves its rated sequential read/write speeds
Thermal monitoring: HWiNFO64 under load — GPU and CPU temperatures should remain below 95°C sustained
[STAT] A well-assembled Clevo V560TU with AMD Ryzen 9 9955HX and 32GB DDR5 should achieve approximately 1,800+ points in Cinebench 2025 multi-core — consistent with independently published benchmarks for this CPU platform in 2026.
7c. Configure Power and Performance Settings
Install the manufacturer's control center software (e.g., Control Center for Clevo/Sager) to manage fan curves and performance modes
Set your default power plan to "Balanced" for day-to-day use and "Performance" for gaming or rendering
Configure Windows Battery Saver threshold to extend battery longevity
Troubleshooting & Common Mistakes
The laptop won't power on after assembly
Most common cause: A RAM stick is not fully seated. Power off, remove the bottom panel, remove and firmly reseat both RAM sticks. Also check that no cables were accidentally disconnected during reassembly.
The OS installation doesn't detect my NVMe SSD
The Windows 11 installer requires Intel RST (Rapid Storage Technology) or AMD RAID drivers loaded during installation for some configurations. Download the appropriate driver from your CPU manufacturer's site, load it via the "Load Driver" option during Windows Setup.
RAM is showing in single-channel mode
Both SO-DIMM sticks must be in matching slots (Slot A + Slot B, not A + A or B + B). Refer to your chassis manual — slot labeling varies. Verify in Task Manager that "Channels: Dual" appears under Memory.
Temperatures are very high under load
Recheck thermal paste application. Excess paste can insulate rather than conduct. Also ensure the heatsink retention screws are uniformly tight. Undervolting the CPU using Intel XTU or AMD Ryzen Master can also meaningfully reduce temperatures without affecting performance.
WiFi card is not detected
Recheck that the M.2 wireless card is fully seated and that both antenna cables are firmly connected. Also verify in BIOS that the M.2 wireless slot is enabled — some chassis have it disabled by default.
My chassis didn't come with a display — can I use any laptop screen?
No. Laptop displays are chassis-specific based on connector type (eDP 1.4, eDP 2.1), physical mounting dimensions, and LVDS cable length. Only use display panels verified as compatible with your specific barebones chassis model.
Is Building Your Own Laptop Worth It in 2026?
Building your own laptop delivers unmatched component transparency, the ability to configure exactly what you want without paying for bundled features you don't need, and a machine you understand inside and out. For enthusiasts, IT professionals, and demanding users, it's absolutely worth the effort.
That said, the process does require careful component research, patience during assembly, and comfort with BIOS-level configuration. If you want the same transparency and custom configuration without the hands-on assembly, XOTIC PC's custom-configured laptop lineup — including systems built on the same Clevo platforms covered in this guide — delivers that experience with professional assembly, rigorous pre-shipping benchmarks, and expert post-sales support.
Whether you build it yourself or work with a specialist builder, the principle is the same: when you know exactly what's in your machine, you're always in control.
📝 View this article as Markdown — a clean text version for AI assistants, citation tools, and easy copying.